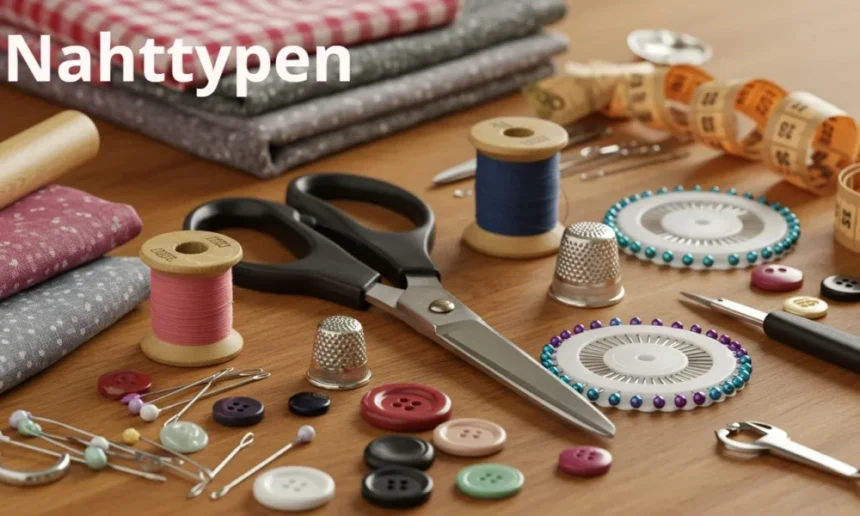
Nahttypen Explained is a German word, and it simply means “seam types.” If you’ve been browsing sewing tutorials and bumped into this term, don’t worry. It’s just a way of describing the different ways you can join two pieces of fabric together. And honestly, picking the right one matters more than most beginners think.
- What Are Nahttypen, Really?
- Why Choosing the Right Seam Matters So Much
- The Main Nahttypen at a Glance
- Choosing Nahttypen by Purpose
- Which Nahttypen Are Best for Beginners
- Common Mistakes When Choosing Nahttypen
- How to Find the Right Seam: A Quick Guide
- Practical Tips for Clean Seams
- Frequently Asked Questions About Nahttypen
- Which Seam Type Is the Strongest?
- Do I Need a Special Machine for Every Seam?
- Which Seam Is Best for Beginners?
- The Right Seam Makes All the Difference
The seam you choose affects how long your project lasts and how it looks. A good seam holds everything together. A poor choice can leave you with puckered fabric or stitches that pop after one wash.
In this post, I’ll walk you through the main Nahttypen Explained to use each one, and how to avoid the most common mistakes. The right seam saves you time, fabric, and a lot of frustration.
What Are Nahttypen, Really?
Let’s keep this simple. Nahttypen are just the different kinds of seams you can sew. A seam is where two layers of fabric meet and get stitched together.
There are many types because no single seam works for every job. A seam for stretchy leggings won’t suit a stiff pair of jeans. That’s the whole reason these categories exist.
So when someone talks about nahttypen, they’re really asking: what’s the best way to connect this particular fabric for this particular use?
Seam vs. Stitch: The Small but Important Difference
People mix these two up all the time. Here’s the thing: a seam is the line where two pieces of fabric are joined. A stitch is the single small unit that builds that line.
Think of it like a brick wall. The seam is the whole wall. The stitches are the individual bricks. You need lots of stitches to make one strong seam.
Why Choosing the Right Seam Matters So Much
A seam does more than hold fabric together. It decides how much stress your garment can take before something gives way.
Some seams are built for heavy use. Others are made to look clean and neat on delicate fabric. The right pick depends on the material and how much pulling or stretching it will face.
To be honest, this is where a lot of projects go wrong. People focus on the look and forget the seam has a real job to do.
The Main Nahttypen at a Glance
Most seams fall into three rough groups: simple seams, reinforced seams, and decorative seams. Each one has its place.
Just remember, not every seam suits every fabric. A reinforced seam on thin chiffon would look bulky and odd. Match the seam to the material first.
The Simple Seam (Standard Seam)
This is the one you’ll use most often. You place two pieces of fabric right sides together and stitch a straight line near the edge.
Good points:
- Fast and easy to sew
- Works on most everyday fabrics
Not so great:
- The raw edges can fray unless you finish them
- Not the strongest option for heavy stress
The Flat-Felled Seam (Kappnaht)
This seam is tough. The raw edges get folded and tucked away, then stitched down twice. That double row of stitches is what makes it so durable.
You’ll see it on jeans, workwear, and anything that needs to survive rough use. It looks neat from both sides too, which is a nice bonus.
The French Seam
What’s interesting about the French seam is that it hides all the raw edges inside itself. No fraying, no messy bits. Just a clean finish on both sides.
It works best on light, fine fabrics like silk or thin cotton. On thick material it gets bulky, so save it for the delicate stuff.
The Overlock Seam
An overlock seam stitches the fabric together and wraps the edge at the same time. That’s the big difference from a simple seam, which only joins and leaves the edge open.
It’s a favorite for stretch fabric because it moves with the material. That flexibility stops the stitches from snapping when the fabric pulls.
Choosing Nahttypen by Purpose
Here’s a habit worth building: think about the job first, then pick the seam. Purpose comes before everything else.
Ask yourself how much stress the seam will take, what fabric you’re using, and whether the seam needs to look pretty or just stay hidden. Those three things usually point you to the right choice.
Seams for Hard-Wearing Clothes
For clothes that take a beating, you want strong nahttypen. The flat-felled seam is a classic here because it holds up under pressure.
On trousers, bags, and pockets, go for seams with extra reinforcement. These spots get pulled and stretched all day, so a single weak line of stitching won’t cut it.
Seams for Light and Fine Fabrics
Delicate fabric needs a gentle touch. The French seam is great here since it protects the material and hides the edges.
A few tips for clean edges: use a fine needle, keep your stitch length short, and press the seam carefully as you go. Small details make a big difference on thin fabric.
Seams for Stretch Fabric
Stiff seams and stretch fabric are a bad match. When the fabric stretches and the stitches don’t, something has to break, and usually it’s the thread.
That’s why a flexible seam, like an overlock, works so much better. It stretches along with the fabric instead of fighting it.
Which Nahttypen Are Best for Beginners
If you’re just starting out, begin with the simple seam. It’s forgiving, quick to learn, and it teaches you the basics of feeding fabric through a sewing machine.
Practice on scrap fabric first. Try sewing straight lines, then curves, then corners. It sounds boring, but it builds real muscle memory.
You can skip the fancy seams for now. There’s no rush to learn flat-felled or French seams until you’re comfortable with the basics.
Common Mistakes When Choosing Nahttypen
A few mistakes pop up again and again. Knowing them saves you a lot of headaches.
- Wrong seam for the fabric. A rigid seam on stretch material is a recipe for popped stitches.
- Tension set too tight or too loose. This puckers the fabric or leaves loose, weak stitches.
- Looks over function. A pretty seam that falls apart helps no one. Pick a seam that does the job first, then make it look good.
How to Find the Right Seam: A Quick Guide
When you’re unsure, run through these three questions:
- What fabric am I using? Light, heavy, or stretchy?
- How much stress will the seam take? Light wear or heavy daily use?
- Should the seam show or stay hidden?
Answer those and you’ll usually land on the right seam. Keep this little checklist handy until it becomes second nature.
Practical Tips for Clean Seams
Set up your fabric and machine properly before you start. The right needle and thread for your material make a huge difference.
Always sew a test seam on a scrap piece first. It lets you check the tension and stitch length without ruining your actual project.
And match your thread weight to your fabric. Heavy thread on thin fabric looks clumsy, while thin thread on thick fabric just isn’t strong enough.
Frequently Asked Questions About Nahttypen
Which Seam Type Is the Strongest?
The flat-felled seam is usually the toughest, which is why you find it on jeans. But “strongest” really depends on the job. The best seam is the one that fits your fabric and its use.
Do I Need a Special Machine for Every Seam?
No. A regular sewing machine handles most seams just fine, including simple and French seams. A special overlock machine helps with stretch fabric and clean edge finishing, but it’s not a must when you’re starting out.
Which Seam Is Best for Beginners?
Stick with the simple seam. It’s easy, quick, and it teaches you everything you need before moving on to trickier nahttypen.
The Right Seam Makes All the Difference
Different nahttypen exist for different jobs, and that’s the whole point. A delicate French seam and a rugged flat-felled seam both have their place.
So next time you start a project, figure out the purpose first. Check the fabric, think about the stress, and decide if the seam should show. Then test your chosen seam on a scrap before you commit. That small habit will make your sewing cleaner, stronger, and a whole lot less frustrating.
Continue reading: Continuing Education: A Simple Guide to Learning and Growing in Your Career