If you want a flawless paint job on your car, you need to start with a high-quality automotive primer. It is the absolute foundation of any vehicle restoration or bodywork project.
- What Exactly Is Automotive Primer?
- Types of Automotive Primer You Should Know
- Epoxy Primer: The Ultimate Rust Blocker
- Urethane Primer: The Surface Smoother
- Sandable Primer: The Bodywork Best Friend
- Etch Primer: The Bare Metal Gripper
- Key Facts About Paint Adhesion
- The Science of Rust Prevention
- How to Apply Automotive Primer Like a Pro
- Frequently Asked Questions (FAQ)
Without it, your expensive topcoat will fail, peel, or look terrible.
Here’s the thing. Many beginners think they can just sand a car down and spray the final color. That is a massive mistake.
To be honest, the prep work is where the real magic happens.
In this guide, we will break down exactly what this crucial undercoat does and why it matters. We will look at the different types available and how to use them properly.
What Exactly Is Automotive Primer?
An automotive primer is a specialized prep coating applied directly to a vehicle’s bare metal, plastic, or old sanded paint.
It acts as a binding layer between the raw surface and the final colored paint.
Think of it like double-sided tape. It sticks hard to the bare metal on one side, and it gives the new paint something to grip onto on the other side.
The Core Purpose of Car Primer
The main job of this undercoat is paint adhesion. Bare steel and fiberglass are actually quite slick.
If you spray paint directly onto these materials, it will eventually flake off. Primer fixes this by creating a micro-textured surface.
Why Skipping This Step Is a Bad Idea
If you skip this step, you are throwing your time and money away.
Paint needs a stable foundation. Without it, you will get uneven colors, immediate chipping, and a severely reduced lifespan for your paint job.
What’s interesting is that most professional painters spend 80% of their time on primer and prep work, and only 20% on actual painting.
Types of Automotive Primer You Should Know
Not all prep coatings are the same. Different jobs require different chemical makeups.
Choosing the right automotive primer depends entirely on the surface you are painting and the condition of the vehicle.
Epoxy Primer: The Ultimate Rust Blocker
Epoxy is the gold standard for sealing bare metal.
It creates a completely waterproof barrier. This is your best line of defense for serious rust prevention.
Most professionals spray two coats of epoxy immediately after stripping a car down to the bare steel.
Urethane Primer: The Surface Smoother
Urethane is a high-build product. That means it sprays on thick.
You use this type to fill in tiny scratches, minor dings, and sanding marks left behind by your bodywork.
It is not a rust preventer on its own, which is why it usually goes over the top of an epoxy layer.
Sandable Primer: The Bodywork Best Friend
If you want a glass-smooth finish, you need a good sandable primer.
This product dries hard and turns into a fine powder when you hit it with sandpaper.
It allows you to block sand the car perfectly straight before the final basecoat goes on.
Etch Primer: The Bare Metal Gripper
Self-etching primer contains a mild acid.
This acid actually bites into the bare metal, creating an incredibly strong bond.
It is a great choice for small spot repairs where you just hit a little bit of bare steel, though it is used less often on full-car restorations today.
Key Facts About Paint Adhesion
Achieving proper paint adhesion requires more than just spraying a liquid out of a gun.
You have to follow the chemical rules of the product you are using.
How Temperature Affects the Process
Paint chemicals are highly sensitive to heat and cold.
If your garage is too cold, the automotive primer will not cross-link and cure properly.
If it is too hot, the solvents will flash off too fast, leaving a rough, dry texture on your panels. Always aim for a steady 70 to 75 degrees Fahrenheit.
Flash Times Between Coats
You cannot just spray coat after coat without stopping.
You must wait for the solvents to evaporate between layers. This is called the flash time.
If you rush this, the trapped solvents will eventually push their way out, causing ugly bubbles in your final paint job.
The Science of Rust Prevention
Rust is the enemy of every car owner.
When bare steel meets oxygen and moisture, oxidation begins almost immediately.
Moisture Sealing Properties
A good automotive primer locks out oxygen and water.
Epoxy versions are particularly good at this because they are non-porous.
Water physically cannot pass through a properly cured layer of epoxy, keeping the metal underneath safe for decades.
How to Apply Automotive Primer Like a Pro
Applying this product correctly takes patience and a clean environment.
Here is how you handle the process from start to finish.
Prepping the Surface
First, clean the panel with a dedicated wax and grease remover.
Any oil from your skin can cause a massive failure.
Next, sand the area with the grit recommended by your product’s tech sheet—usually around 180 to 220 grit.
Mixing the Chemicals
Always use proper measuring cups.
Most professional products are two-part systems requiring a specific ratio of hardener to base.
Mix it thoroughly, and always respect the induction time if the manufacturer calls for it.
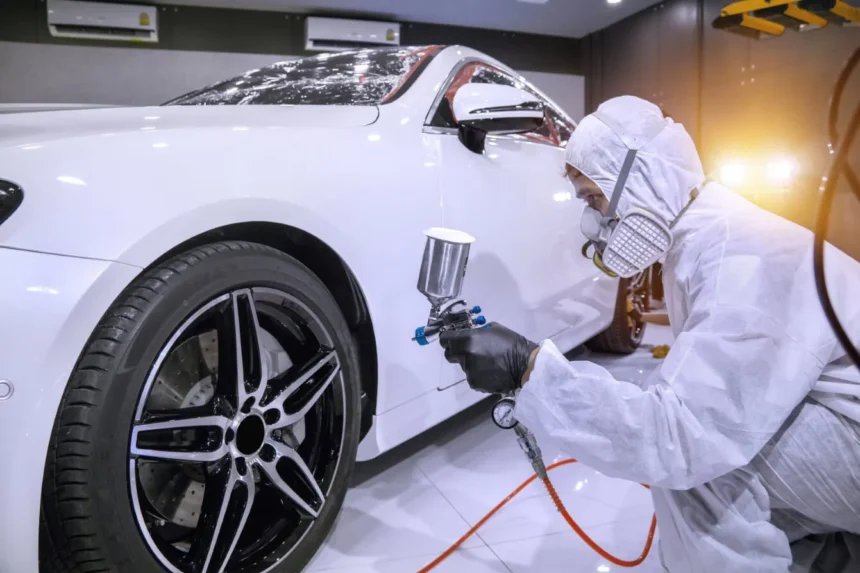
Spraying the Coats
Hold your spray gun about six to eight inches from the panel.
Keep your wrist locked and move your entire arm.
Overlap your spray pattern by 50% on each pass to ensure an even, uniform film build across the entire car.
Frequently Asked Questions (FAQ)
1. How many coats of automotive primer do I need?
Usually, two to three coats are plenty. You need enough material to block sand the surface flat without cutting back down to the bare metal. Check your specific product sheet for exact film build limits.
2. Can I spray color directly over a freshly primed surface?
Not usually. Most primers leave a slight texture that needs to be wet-sanded smooth first. Some epoxy sealers can be sprayed “wet-on-wet” with a topcoat, but you must follow the timing window exactly.
3. Does primer stop rust that is already there?
No. You must completely remove existing rust with a grinder, sandblaster, or chemical rust converter first. Primer is designed for rust prevention on clean metal, not for burying active corrosion.
4. How long should I wait before sanding my sandable primer?
It depends on the temperature and the product. A 2K urethane might be ready to block sand in 4 to 6 hours. However, waiting overnight or a full 24 hours will give you much better, more predictable results.
5. Do I need a clear coat over my primer?
No. Clear coat goes over your colored basecoat, not the undercoat. The typical process is primer, then basecoat (color), and finally the clear coat to lock in the shine and provide UV protection.
Continue reading: The Ultimate Guide to the Home Center Lite: Is It Still Worth It?